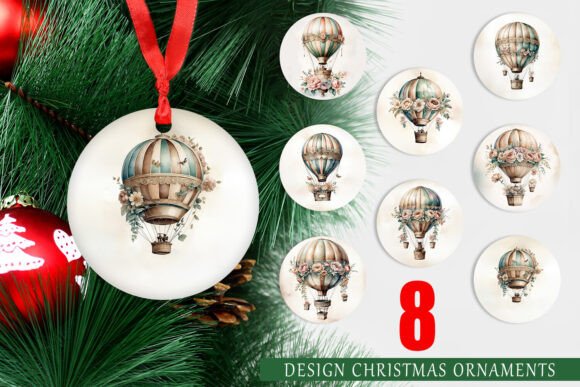
Ornament Hot Air Balloon: Elevating Your Holiday Decor with Precision
The holiday season is a time for creativity, warmth, and personal expression. For many crafters, small business owners, and DIY enthusiasts, this means moving beyond store-bought decorations to create something truly unique. One design that has captured the imagination of creators recently is the Ornament Hot Air Balloon. This whimsical motif combines the nostalgia of vintage travel with the cozy charm of Christmas, resulting in a decorative element that feels both adventurous and traditional. However, translating a digital concept into a physical reality requires more than just a pretty picture. It demands an understanding of file specifications, printing limitations, and material compatibility.
While the appeal of downloadable designs is undeniable, many users stumble not because of a lack of talent, but due to overlooked technical details. Whether you are a beginner looking to decorate your own tree or an entrepreneur selling custom decor on platforms like Etsy, understanding the nuances of high-resolution printable designs is crucial. A common misconception is that any image found online will print beautifully on a small, circular ornament. In reality, the difference between a professional-looking product and a blurry disappointment often lies in the pixels per inch (PPI) and the source file format.
The Trap of Low-Resolution Downloads
One of the most frequent mistakes creators make is underestimating the importance of resolution. When browsing for Christmas ornaments PNG files, it is tempting to grab the first appealing image that appears in search results. Many free resources offer images at 72 DPI (dots per inch), which is standard for web viewing but entirely inadequate for printing. When you attempt to print a 72 DPI image on a 5x5 inch surface, the result is often pixelated, jagged, and unprofessional.
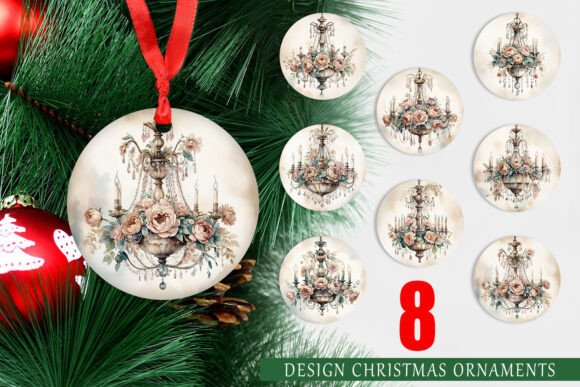
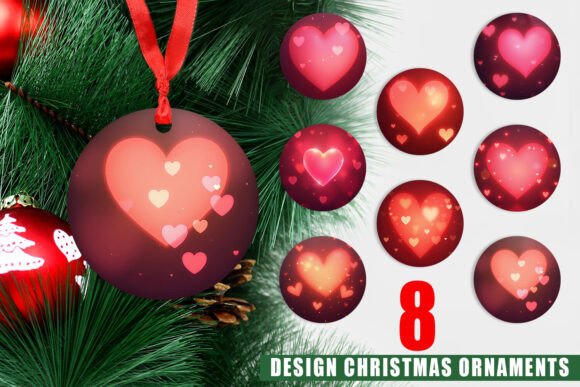
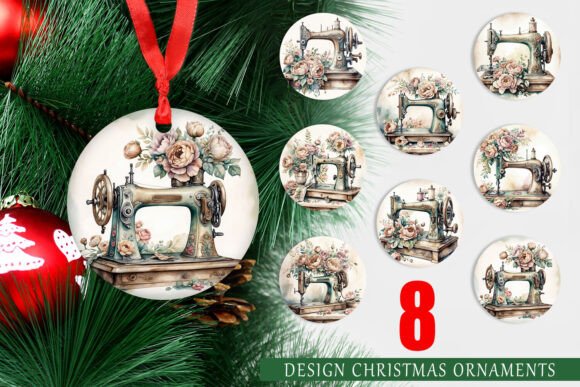
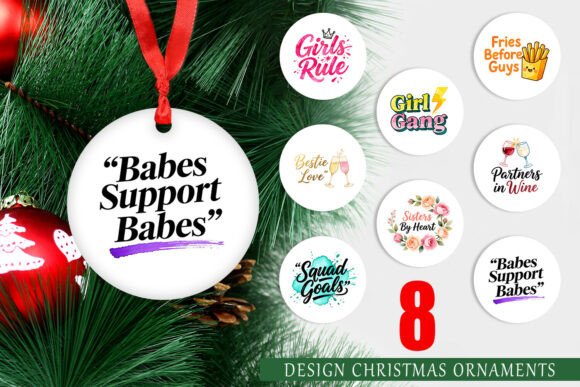
To avoid this, always verify that your design files are at least 300 DPI. The specific set of eight circular decorative designs mentioned here offers files at 1500x1500 pixels at 300 DPI. This specification is not arbitrary; it ensures that when the image is printed at its intended size of 5 inches, every line remains crisp and every color transition smooth. For those scaling designs up or down, maintaining this density is key. If you are unsure, zoom in to 100% on your screen. If the edges look fuzzy or blocky before you even hit print, they will look significantly worse on paper or wood.
Misunderstanding File Formats and Transparency
Another critical area where beginners often falter is the choice of file format. JPEGs are ubiquitous, but they are rarely the best choice for layered crafting projects. JPEGs do not support transparency, meaning your hot air balloon design will likely come with a white or black background box. This forces you to manually cut out the background, a tedious process that often results in uneven edges and wasted material.
In contrast, a PNG file with a transparent background allows you to place the hot air balloon directly onto colored cardstock, wood slices, or fabric without worrying about unsightly borders. This flexibility is essential for achieving a seamless, high-end look. When evaluating a printable design, always check if the provider offers PNGs with transparency. If you are working with sublimation printing, ensure the background is truly transparent and not just white, as this affects how the ink bonds with the substrate. Using the correct format saves time during the production phase and elevates the final aesthetic.
Ignoring Material Compatibility
Even with the perfect file, the choice of material can make or break your project. A common oversight is assuming that a design suitable for paper will look identical on wood, ceramic, or metal. Each surface absorbs ink differently. For instance, porous materials like unfinished wood may cause colors to bleed slightly, muting the vibrant hues of the hot air balloon. To counteract this, consider applying a sealant or primer before printing, or choose materials specifically coated for inkjet or laser printing.
Furthermore, the size of the ornament matters. The 5x5 inch dimension provided in this set is versatile, but it may need adjustment depending on the ornament type. If you are using pre-made baubles that are only 3 inches in diameter, scaling down a 5-inch design without checking the legibility of smaller details can result in a cluttered appearance. Always print a test page on standard paper first. Hold it up against your chosen ornament to gauge scale and clarity. This simple step prevents waste and ensures that the intricate details of the balloon’s basket and canopy remain visible.
Overlooking Color Profiles
Color accuracy is another subtle yet significant factor. Digital screens display colors in RGB (Red, Green, Blue), while most printers use CMYK (Cyan, Magenta, Yellow, Key/Black). Without proper conversion, the bright blues and reds of your hot air balloon might appear dull or muddy when printed. While many home printers handle this conversion automatically, professional results often require manual adjustment. If you are sending files to a professional print shop, ask if they prefer CMYK files. If printing at home, calibrate your monitor and use high-quality photo paper to get the closest match to what you see on screen.
Additionally, consider the lighting conditions where the ornaments will hang. Christmas trees are often lit with warm white lights, which can cast a yellowish glow on decorations. Cool-toned designs might lose their vibrancy in this environment. Testing your printed ornaments under similar lighting conditions can help you decide if you need to boost the saturation or contrast in your design software before final production.
Maximizing the Value of a Design Set
When you purchase a set of 8 circular decorative designs, the goal should be versatility. Do not limit yourself to using each design only once. Mix and match elements, change background colors, or combine the hot air balloon with other festive motifs like snowflakes or stars. This approach allows you to create a cohesive theme across your entire tree or product line. For entrepreneurs, offering variations of the same core design can appeal to different customer preferences without requiring new artwork from scratch.
Moreover, consider the packaging and presentation. If you are selling these ornaments, the quality of the digital file reflects on your brand. Providing customers with clear instructions on how to print and assemble the ornaments adds value and reduces support queries. Include tips on recommended paper weights, cutting tools, and sealing methods. This level of detail demonstrates expertise and builds trust with your audience.
Final Checks Before You Print
Before committing to a large batch of prints, take a moment to review your workflow. Ensure your printer drivers are up to date, your ink levels are sufficient, and your materials are properly aligned. Double-check that you are using the correct side of the paper if using specialty substrates. A quick checklist can save hours of frustration and costly errors.
- Verify Resolution: Confirm files are 300 DPI at the intended print size.
- Check Transparency: Ensure PNG backgrounds are transparent for easy layering.
- Test Print: Always do a single test print on regular paper to check scale and color.
- Material Prep: Prime or seal porous surfaces before printing for better ink adhesion.
- Lighting Test: View printed samples under the lighting conditions where they will be displayed.
By paying attention to these details, you transform a simple digital download into a cherished holiday keepsake. The Ornament Hot Air Balloon is more than just a design; it is an opportunity to showcase your craftsmanship and attention to detail. With the right preparation and knowledge, you can avoid common pitfalls and create decorations that soar above the rest.